A first vegetable garden fails for a small number of predictable reasons: not enough sun, planting into cold soil, a bed too shallow or filled with the wrong thing, too many plants of the wrong crops, and a handful of pests that arrive on schedule. Almost none of those are about skill.
This guide works through them in the order you will meet them, with the numbers that let you check your own decisions instead of hoping.
1. Choose the site before the crops
Sunlight is the constraint you cannot amend. The useful way to think about it is that light demand descends with the part of the plant you eat: fruit needs the most, then leaves and stems, then roots.
| What you harvest | Direct sun per day | Examples |
|---|---|---|
| Fruit | 6 hours minimum, 8 or more to perform | Tomatoes, peppers, squash, cucumbers, melons, beans |
| Leaves, stems, buds | 4–6 hours, or constant dappled shade | Lettuce, arugula, chard, kale, collards, spinach |
| Roots | 4–6 hours, or constant dappled shade | Beets, radishes, turnips, carrots |
Six hours is a floor for fruiting crops, not a target — below it, plants make leaves and little fruit. But the table also means a partly shaded yard is not a lost cause. It is a yard that grows greens and roots well, which is more than most people assume.
Audit the site before committing. Check the proposed bed every hour or two through a clear day and note when direct sun actually reaches it, then repeat later in the season, because deciduous trees and the sun's angle both change what you measured in April.
Then check the practicalities: water within hose reach, a route that does not cross the lawn you mow, drainage that does not leave puddles for days, and a spot you walk past daily. Proximity is not a minor detail — the garden you see every day is the one you notice problems in.
2. Make the first bed manageable
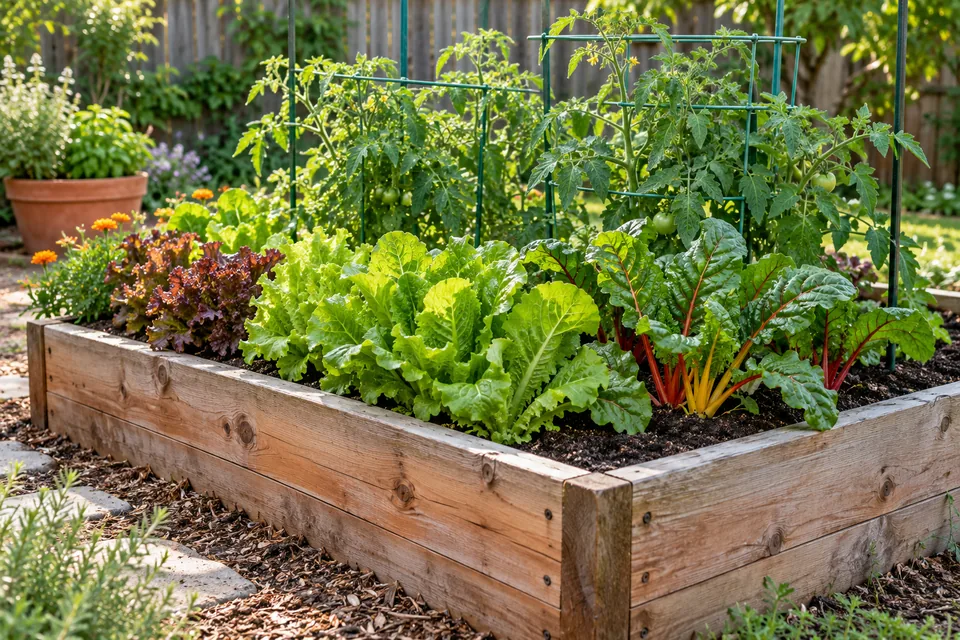
Keep the first bed small enough to maintain in a bad week. Around 4 feet wide lets you reach the middle from either side without stepping on the soil, which is the single most effective thing you can do to avoid compacting it. Length is a matter of energy and space. For scale, a well-managed 100 square feet can produce a meaningful share of the vegetables for a family of four.
How deep the soil needs to be
Most vegetables need at least 6 to 12 inches (15–30 cm) of soil for good rooting; 6 inches is a minimum and 12 is better. Crucially, a raised bed sitting on soil gives roots more than its own depth, because they grow through the fill into the ground below.
A bed on a hard surface — patio, driveway, rooftop — is a different problem, because the bed is all the soil there is. There, extension guidance gives at least 8 inches for leafy greens, beans, and cucumbers, and 12 to 24 inches for peppers, tomatoes, and squash. That threefold spread is the number that should drive your design. About 10 inches is a reasonable all-purpose minimum for most crops other than potatoes and large vine crops.
What to fill it with
Compost alone will not work. Compost lacks the mineral fraction that soil provides, and a bed filled with it will slump, dry oddly, and over-supply some nutrients while under-supplying structure. Bagged "garden soil" alone is similarly unreliable.
Blend mineral soil for body with compost for organic matter. Beyond that, be aware that extension sources genuinely disagree on the ratio. Recommendations in circulation include a half to two-thirds topsoil with a third to a half compost, 70:30 soil to compost, and — from other extension guidance — compost at only 10 to 20 percent of total volume. That is a fivefold difference in how much compost to buy.
Rather than picking a number and pretending it is settled, use the decision rule: mineral soil for body, compost for organic matter, then test the soil rather than continuing to guess. A compost-heavy bed is a common cause of excess phosphorus and soluble salts, which are difficult to reverse.
When buying bulk, ask the supplier what is actually in a "three-way mix" or "garden blend" — those names mean different things in different markets. To estimate volume, multiply length by width by depth in feet: a 4 by 8 foot bed 10 inches deep needs about 27 cubic feet, or a cubic yard. The raised bed soil calculator does the sum for several beds and splits it into compost and topsoil.
Materials, and one myth that will cost you
Advice to avoid pressure-treated lumber because of arsenic is describing a product you cannot buy. CCA-treated wood has not been available for residential use since EPA restricted it in 2004. Modern residential preservatives are copper-based — copper azole, micronized copper azole, alkaline copper quaternary — with no arsenic or chromium. An Oregon State study of beds built from modern treated lumber found soil copper raised measurably only within about an inch of the bed edge, at levels within the natural range for local soils. (That is a regional finding, since background copper varies.) If you remain uneasy, line the inside of the frame with heavy plastic.
The material genuinely worth avoiding is railroad ties, which carry creosote — an industrial preservative not intended for residential or garden use, which leaches, persists in soil, and can injure plants it touches. Older CCA and pentachlorophenol-treated lumber belong on the same list.
3. Prepare soil, not a perfect recipe
Start with a soil test through your state Cooperative Extension service. It costs little and tells you pH and nutrient status, which is the difference between amending for a reason and amending out of habit. If you are gardening in an older residential or urban setting, include a lead screen — see our soil health guide for why the exposure route makes that worth doing.
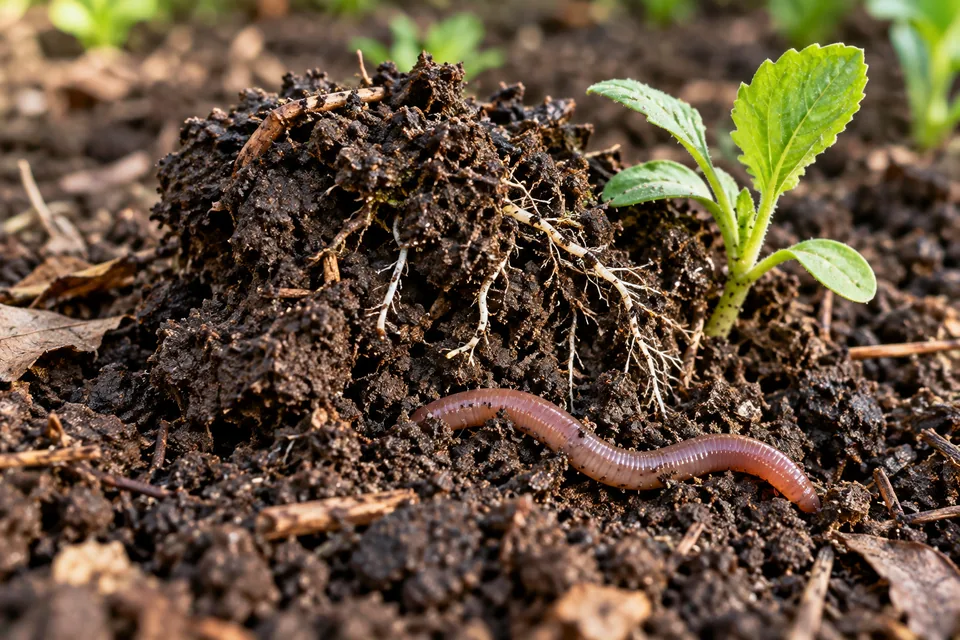
Loosen compacted ground, remove perennial weeds, and work in organic matter. Do not work soil when it is wet: if a squeezed handful forms a sticky ball that smears rather than crumbles, wait. Working wet clay damages structure for years.
Then protect the surface with mulch, keep permanent paths out of the growing soil, and plan a cover crop whenever a bed will sit empty. Rodale Institute's long-running vegetable and field trials use the same foundation: compost and cover crops, planned rotations, living roots, and less disturbance.
4. Let soil temperature set the planting date
This is the step that separates a garden that grows from one that sulks. Soil temperature is a better planting indicator than air temperature or the calendar, and it is the cheapest instrument you will buy.
Most vegetable seeds have a minimum germination temperature somewhere between 36 and 60°F (2–16°C) — that spread is exactly why a single planting date fails everyone. Read at seeding depth, in the morning, on several consecutive days rather than once.
The tomato shows why the number matters. At its optimum of 65 to 85°F (18–29°C) the seed germinates in six to eight days. At 50°F (10°C), the same seed can take over 40 days. At 104°F (40°C), germination stops. One seed, three outcomes, decided by a number you can measure in half a minute.
Note also that minimum and optimum are different questions. Cool-season crops — spinach, leaf lettuce, peas, onions, root crops — will germinate at around 35 to 40°F but germinate fastest far warmer. And planting into cold soil is not merely slow: seed frequently rots, and plants that do emerge tend to be stunted and more disease-prone. The cost of being early is a failed planting, not a delay.
5. Pick crops for your weather and appetite
Grow what you will actually eat, then narrow by what your season supports. Match cool-season crops to spring and autumn, and warm-season crops to the frost-free middle. Days to maturity on the seed packet, checked against your season length, does most of the filtering — and note that days to maturity counts from sowing for direct-seeded crops and from transplanting for transplanted ones. Confusing the two costs four to six weeks.
Forgiving crops for a first season: bush beans, lettuce and other salad greens, radishes, chard, kale, zucchini, and cherry tomatoes. Crops that frustrate beginners: cauliflower, celery, and large slicing tomatoes in short or humid seasons.
Direct-sow what resents transplanting — beans, peas, carrots, radishes, and other roots. Buy transplants for long-season crops such as tomatoes, peppers, and eggplant unless you have good light indoors; a windowsill produces leggy seedlings that never quite recover. With a simple grow light, starting seeds indoors is straightforward.
6. Space, label, and protect new plants
Follow spacing on the packet. Crowded plants compete for light and water and stay wet longer, which invites disease. Published spacings assume traditional rows; intensive methods such as square-foot or container growing can go tighter, especially with compact varieties.
Harden off transplants over 7 to 14 days before planting. Start with an hour outdoors in a sheltered spot and add one to two hours daily, or begin with two to three hours in the warmer part of the day. Work up to 10 to 12 hours, then leave plants out for a full 24 hours for a couple of days before planting. Choose a shaded, wind-sheltered spot for this — wind, not cold, is what usually wrecks softly grown transplants.
Plant most transplants at the depth they grew in the pot. Tomatoes are the exception: they form roots along a buried stem, so setting them deeper produces a larger root system. Water thoroughly at planting, then mulch to hold moisture and suppress weeds. Label everything — you will not remember which row is which by July.
7. When the plant looks great and makes no food
This is the biggest source of first-season disappointment, and it is almost never a soil or fertilizer problem. Three distinct failures with three distinct explanations:
Squash flowers that drop without setting fruit
The first flowers on a squash plant are predominantly male, so nothing sets and the small fruits abort. That is normal development, not a problem. Male flowers typically open about a week before female ones. Some hybrid summer squash do the reverse — early female flowers open with no males available to pollinate them, and abort for the same reason from the opposite cause. Either way, the advice is: wait about a week before diagnosing anything.
After that, look at pollination itself. Cucurbit pollen is heavy and sticky and cannot move by wind — it requires bees. Squash flowers are also open for only a few hours in the morning, so pollination happens early or not at all. If you need to hand-pollinate, do it early in the morning, transferring pollen from a freshly opened male flower to a female one with a soft brush or swab. This is also why pollinator habitat is a yield question rather than a decoration.
Tomatoes that flower and then drop the flowers
Above roughly 90°F (32°C) by day with nights staying above about 72°F (22°C) for several days, tomato pollen becomes non-viable, blossoms dry, and no fruit forms. Sources vary somewhat on the exact thresholds — read it as high 80s to low 90s by day, around 70°F and above at night. A flower must be pollinated within about 50 hours of opening or it dies, which is why one hot spell removes a whole cohort of fruit rather than merely delaying it.
The plant looks perfectly healthy throughout, which is why this gets misdiagnosed as a feeding problem. It is not. The mitigation is shade cloth during the hottest part of the season, consistent watering, and patience. Fertilizing a heat-stalled tomato makes things worse, for the reason in the next section. Note the window is bounded at both ends — cold nights cost fruit set too.
Cucurbits suffer the same way: days in the 90s or nights in the 70s cause flower and small-fruit abortion, and very warm or damp conditions can kill pollen outright.
Blossom end rot
The sunken, leathery black patch on the bottom of a tomato or pepper is a localized calcium deficiency in the fruit — which does not mean your soil lacks calcium. Usually there is ample calcium present and the problem is transport.
Calcium is relatively immobile in the plant and moves with the transpiration stream, so calcium uptake is governed by anything affecting water uptake. And calcium follows transpirational demand, which is highest in new shoots and leaves rather than in fruit. That has a direct consequence: over-fertilizing with nitrogen and potassium during early bloom and fruiting is a major contributor, because it drives the leafy growth that diverts calcium away from developing fruit. Calcium also competes with potassium, magnesium, and ammonium nitrogen for uptake.
So the fix is consistent soil moisture — mulch and steady watering — plus not overfeeding during bloom. Extension services publish "fix blossom end rot with calcium sprays" explicitly as a myth; foliar calcium does not reach the fruit tissue where it is needed. Eggshells and lime do not solve it either. For the rest of the tomato season, from planting depth to staking and harvest, see how to grow tomatoes.
8. The pests you will actually meet
Use prevention first: healthy soil, crop rotation, resistant varieties, row cover, sanitation, and flowers that support beneficial insects. Hand-remove a confirmed pest next. Use a targeted, labeled product only when those controls do not hold damage to an acceptable level. This is the same management order Rodale Institute uses in organic production.
Move each crop family to a different bed from one season to the next. Rotation breaks pest and disease cycles, varies root depth, and spreads nutrient demand. Keep a simple bed map so tomatoes, peppers, potatoes, and eggplants move together as the nightshade family, and cabbages, kale, broccoli, and radishes move together as brassicas.
Row cover is the most useful single tool, and it comes with one non-negotiable rule. Apply it as soon as plants emerge or are transplanted, securing all edges — but remove it when flowers appear, because insect-pollinated crops cannot set fruit under it. Cover excludes the pest; flowering ends the cover.
The handful worth knowing by name:
- Squash vine borer. The plant wilts suddenly and you find sawdust-like frass at the base of the stem. Row cover from emergence until bloom is the main defense; if rotation is not possible, cover as soon as adults appear.
- Squash bugs. Control is mostly mechanical: hand-pick adults and crush the bronze egg clusters found on leaf undersides and stems. Checking twice a week from early in the season keeps this manageable.
- Cucumber beetles and bacterial wilt. The beetles are a problem less for their feeding than because they vector bacterial wilt, which overwinters in the guts of infected beetles and enters the plant as they feed in spring. There is no treatment once a plant is infected, so managing the beetle is the only prevention.
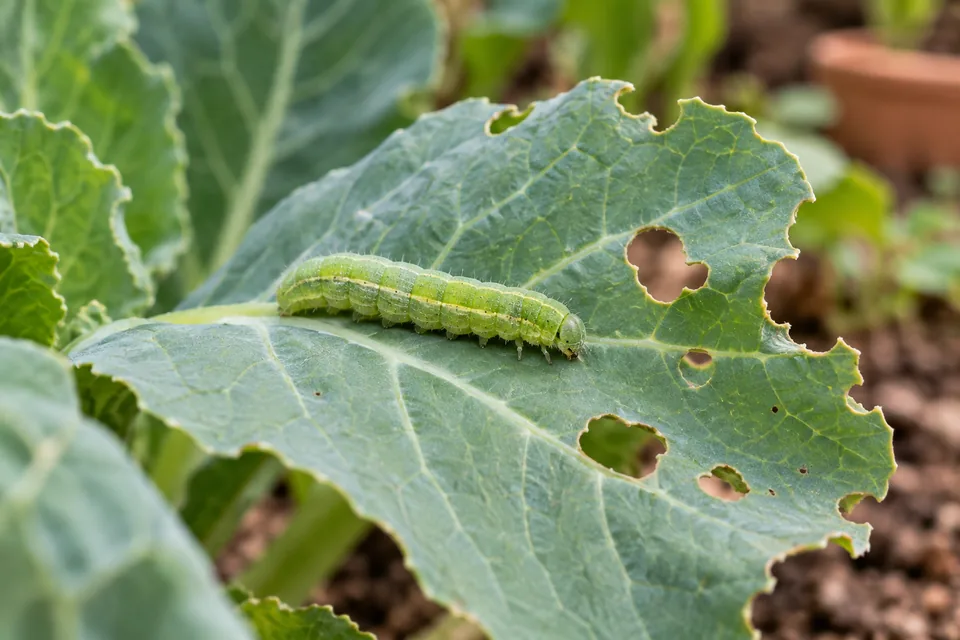
- Cabbage worms on brassicas — hand-pick, or exclude with row cover, which brassicas tolerate all season since they are not insect-pollinated for our purposes.
- Aphids — a strong jet of water, and patience while predators arrive.
- Slugs — reduce damp hiding places, water in the morning, and hand-collect in the evening.
- Deer and rabbits — fencing is the only reliable answer; repellents are a stopgap.
Identify before you treat. A great deal of insect damage is cosmetic, and many of the insects on a healthy plant are the ones eating the pests.
9. Use a short weekly routine
Fifteen focused minutes twice a week beats a three-hour rescue mission once a month.
Water the root zone deeply and less often, checking soil moisture with a finger rather than following a schedule — see our watering guide for how to judge it. Keep 2 to 3 inches of mulch on the surface. Pull weeds while they are small. Harvest promptly, since most crops slow production once fruit matures on the plant.
Sow successions as you go — radishes every 7 to 10 days, lettuce every 10 to 14 — rather than sowing an entire packet at once and facing forty heads of lettuce in the same week.
And walk the beds. Turn a few leaves over. Most problems are cheap to fix in the week you first notice them and expensive a month later.
10. End the season with useful notes
Write down what would change a decision next year, not just what happened:
- Soil temperature at sowing, and the gap between sowing and emergence — the direct measure of whether you planted too early.
- Which crops produced more than you could use, and which ran out. This is how the quantity problem gets solved.
- Where sun actually fell through the season, versus where you assumed it would.
- When each pest showed up, so next year you can cover the crop before rather than after.
- Cultivar performance, with the specific failure named — bolted, cracked, poor set, disease.
On food safety: wash produce before eating, wash your hands after gardening, and if you use raw or aged manure, observe the standard intervals — 120 days before harvest for crops whose edible parts contact soil, 90 days for everything else (see the composting guide).
A first season that produces good notes and a few excellent meals has done its job. Expand next year, once you know what your site actually does.
Sources and further reading
- Rodale Institute: Crop rotations — interrupting pests and disease while diversifying roots and nutrient use.
- Rodale Institute: Pest management — prevention-first organic pest management.
- Rodale Institute: Vegetable Systems Trial — organic vegetable systems, compost, cover crops, and tillage intensity.
- Illinois Extension: Get started gardening — sun requirements by crop group.
- Cornell CALS: Sunlight is key to great vegetables.
- University of Maryland Extension: Growing vegetables in raised beds — soil depth by crop, and beds on hard surfaces.
- University of Maryland Extension: Soil to fill raised beds — why compost alone fails, and blend options.
- University of Minnesota Extension: Raised bed gardens.
- Utah State University Extension: Raised bed gardening.
- US EPA: Chromated arsenicals (CCA) — the 2004 residential restriction.
- Oregon State University Extension: Pressure-treated wood in raised bed construction — measured copper movement.
- US EPA: Creosote.
- Clemson Cooperative Extension: Treated wood in the landscape.
- Washington State University Extension: The myth of drainage material in container plantings.
- UC Agriculture and Natural Resources: Adding gravel does not improve drainage.
- Oregon State University Extension: Soil temperature conditions for vegetable seed germination — the tomato example.
- University of Wisconsin Extension: Check soil temperature before planting — why cold-soil sowings rot.
- Michigan State University Extension: Determine soil temperatures before planting.
- UC Master Gardeners: Tomato blossom drop — temperature thresholds and the 50-hour pollination window.
- Iowa State University Extension: Why squash blooms heavily but sets little fruit.
- Michigan State University Extension: Male flower formation and fruit set in summer squash.
- Oregon State University Extension: Hand pollinating squash and cucumbers.
- University of Minnesota Extension: Limited fruit set and fruit abortion in cucurbits.
- UMass Extension: Blossom end rot in solanaceous crops — calcium transport, not soil deficiency.
- University of Georgia Extension: Blossom-end rot and calcium nutrition of pepper and tomato.
- Clemson Cooperative Extension: Gardening myths — calcium sprays for blossom end rot.
- University of Minnesota Extension: Squash vine borers.
- University of Wisconsin Horticulture: Squash vine borer.
- University of Missouri Extension: Common pests of cucumbers, melons and squash — row cover timing and bacterial wilt.
- Penn State Extension: Insect pests affecting squash plants.
- Michigan State University Extension: Vegetable production chart — amounts needed per adult.
- Penn State Extension: Transplanting annuals into the garden — hardening off.